Inventory every page, asset, and URL and create a clear redirect map.
Backup content and test the full site in a staging environment before touching production.
Preserve SEO: implement 301 redirects, keep metadata, update canonicals, and submit a fresh sitemap.
Test all functionality on staging: forms, tracking, integrations, logins, and payments.
Plan DNS, SSL, and a rollback strategy and pick a low-traffic launch window.
Monitor post-launch analytics, crawl errors, and indexation and fix issues immediately.
Take our website migration checklist as a top-tier instruction, a cornerstone that shields you from the potential pitfalls of traffic and sales decline. By following the principles of this website migration guide, you'll not only safeguard against these challenges but also unlock the door to exponential growth in sales and traffic.
Considering Webflow as a Migration Option
One of the key features of Webflow is its user-friendly interface. It's like the difference between a smooth, scenic drive and a bumpy, unpaved road. With Webflow, you don't need to be a tech genius to navigate your way through the platform. Webflow is designed to provide an intuitive experience when migrating your website from other platforms.
Not sure if you should move your website to Webflow?
Before you start a website migration, keep in mind that you might see a temporary drop in traffic. Google needs time to update your changes. However, this dip should gradually improve within a few weeks, and you can anticipate an increase in activity after that.
Setting Expectations
Ahead of initiating the journey of migrating your website to Webflow or another CMS platform, it's mandatory to define your goals for this transition.
Take a moment to ask yourself: Is this website migration necessary for me?
If your answer aligns with any of these scenarios—whether it's to breathe new life into your website's design, boost those SEO rankings, implement a domain change, address the shortcomings of your current CMS platform, or just to cut down on costly and time-consuming developer interventions—then a website migration is your path forward.
Fear not, for we've got your back. Follow our comprehensive website migration checklist, meticulously crafted to ensure you sail through this process without experiencing those dreaded traffic drops, loss of ranking positions, or, most importantly, a drop in revenue.
Your fresh new website starts here!
Migration Success Story
Nearly 70% of our valued clients seek Amply's services for B2B website migration to Webflow, It's a testament to the power of this platform! Check out one of our client success stories that migrated from WordPress to Webflow and increased conversions by 10x in the process.
The best part? These clients witnessed remarkable results within just the second week of their website migration to Webflow.
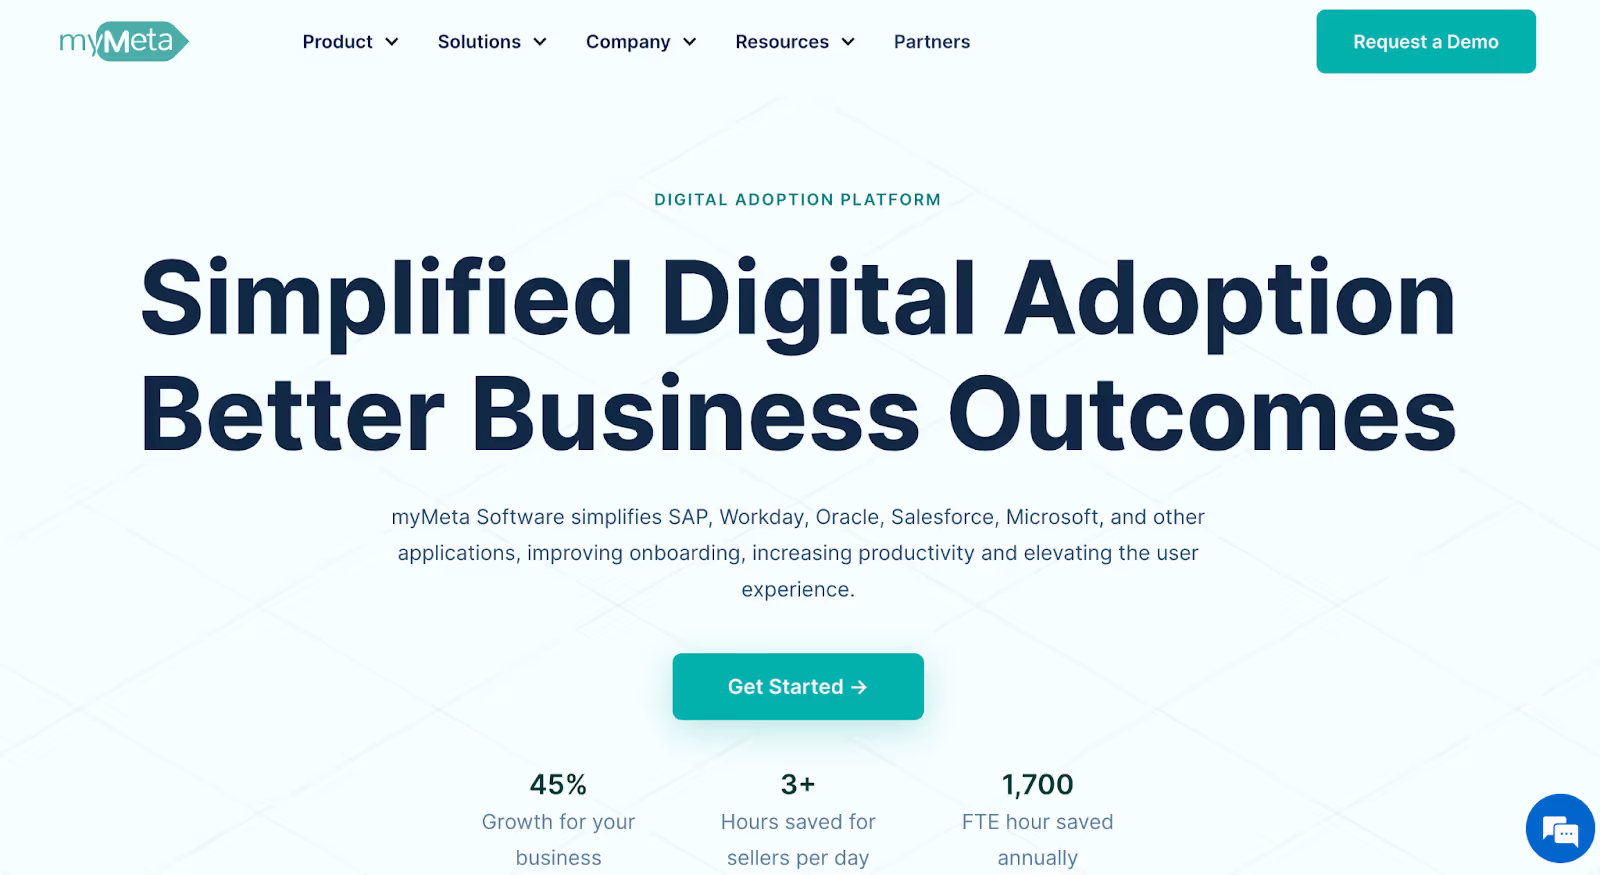
MyMeta
After migrating to Webflow and launching their website, MyMeta saw a remarkable transformation in just four months, with significant on-site conversion growth, thanks to our high-performing Webflow builds.
Their website now effectively represents their brand, offers an intuitive user experience, and has led to substantial conversion growth.
This project highlights the power of effective website migration in the competitive B2B-SaaS market.
Preparation for Migration
Website Audit
Before beginning the process of website migration, we highly recommend a strategic approach. Start by delving into your current website's metrics, gathering insights, and summarizing your findings. It's all about laying the groundwork for success before diving into this journey.
By carefully analyzing these key metrics and utilizing effective tools, you will gain a comprehensive understanding of your website's performance. This reflective analysis paves the way for a well-informed decision on migrating your website to a new platform.
At the end of the day, our goal is to ensure that your migration is an absolute success. Let's dive into these vital metrics and tools to set the stage for your website's bright future.
Use Google Analytics to: Check your current traffic volume, see where your traffic is coming from, look at your bounce rate to understand user engagement
Check Current CMS Metrics to: Find your best-performing pages, see what content your audience loves, load times of your pages
Explore SEO Tools as SEMrush to: Check your keyword rankings, review your backlinks, check for any crawl errors
Conversion Metrics to: Monitor your conversion rate, analyze your sales funnel
Calculate Costs to: Know your hosting and development & maintenance costs
Professional’s advice:
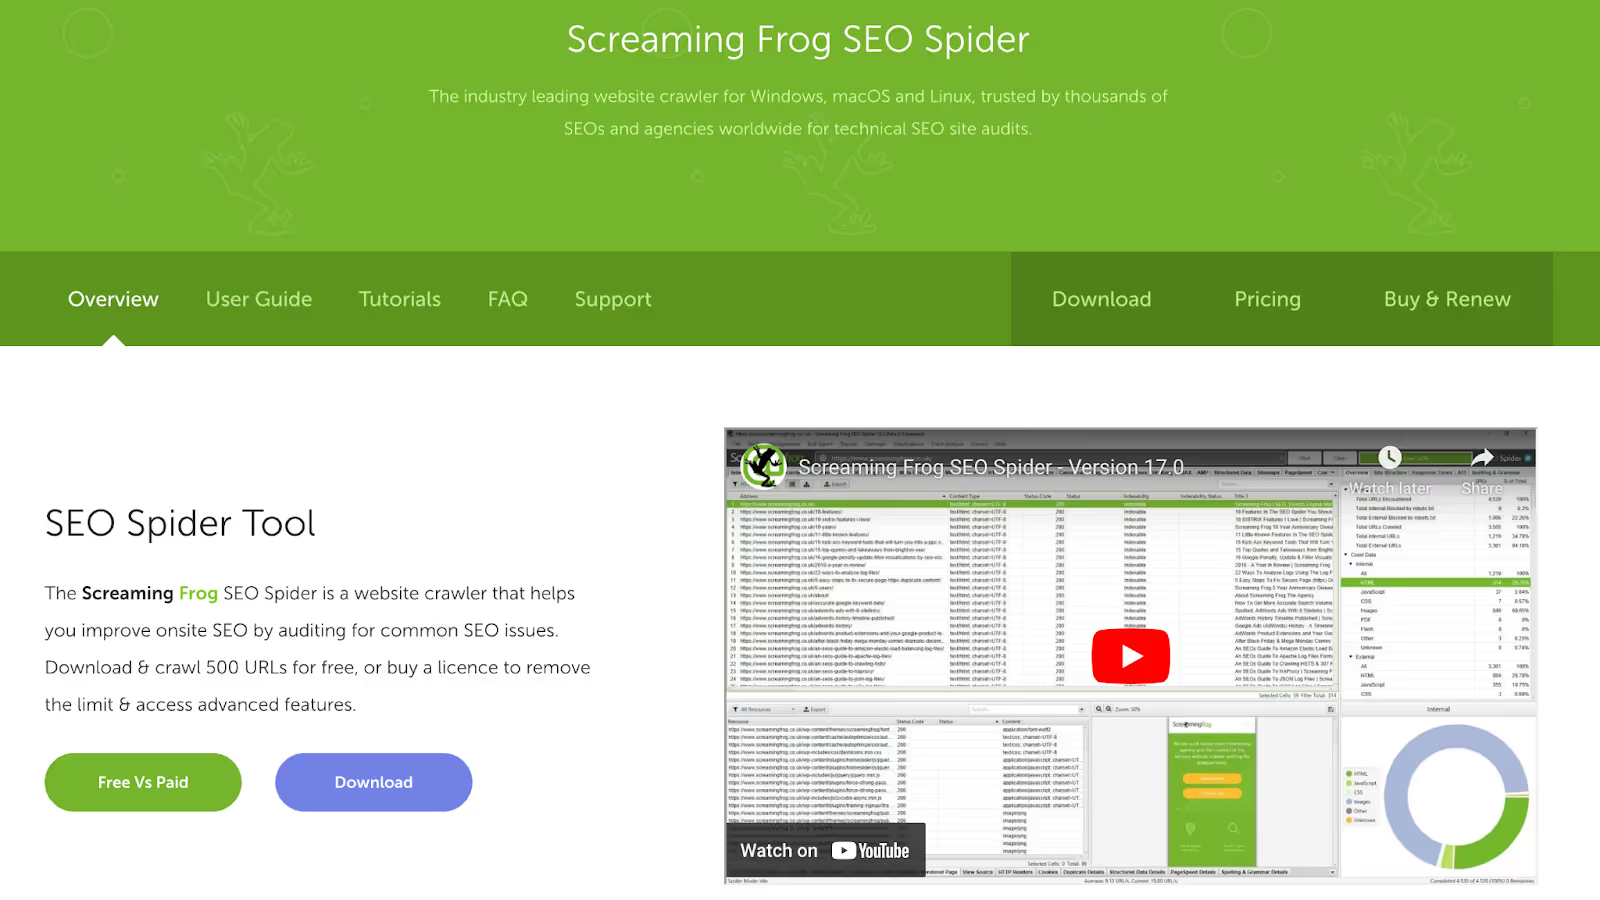
It's a great idea to give your current website a thorough 'crawl' using handy tools like ScreamingFrog. Keep a safe copy of this crawl data for future reference.
It'll help you revisit the old structure or jog your memory about those title tags on specific pages. It's like having a digital time capsule at your disposal!
Take screenshots of every metric and remember to check them a few weeks after the website migration.
Gathering content from the old website
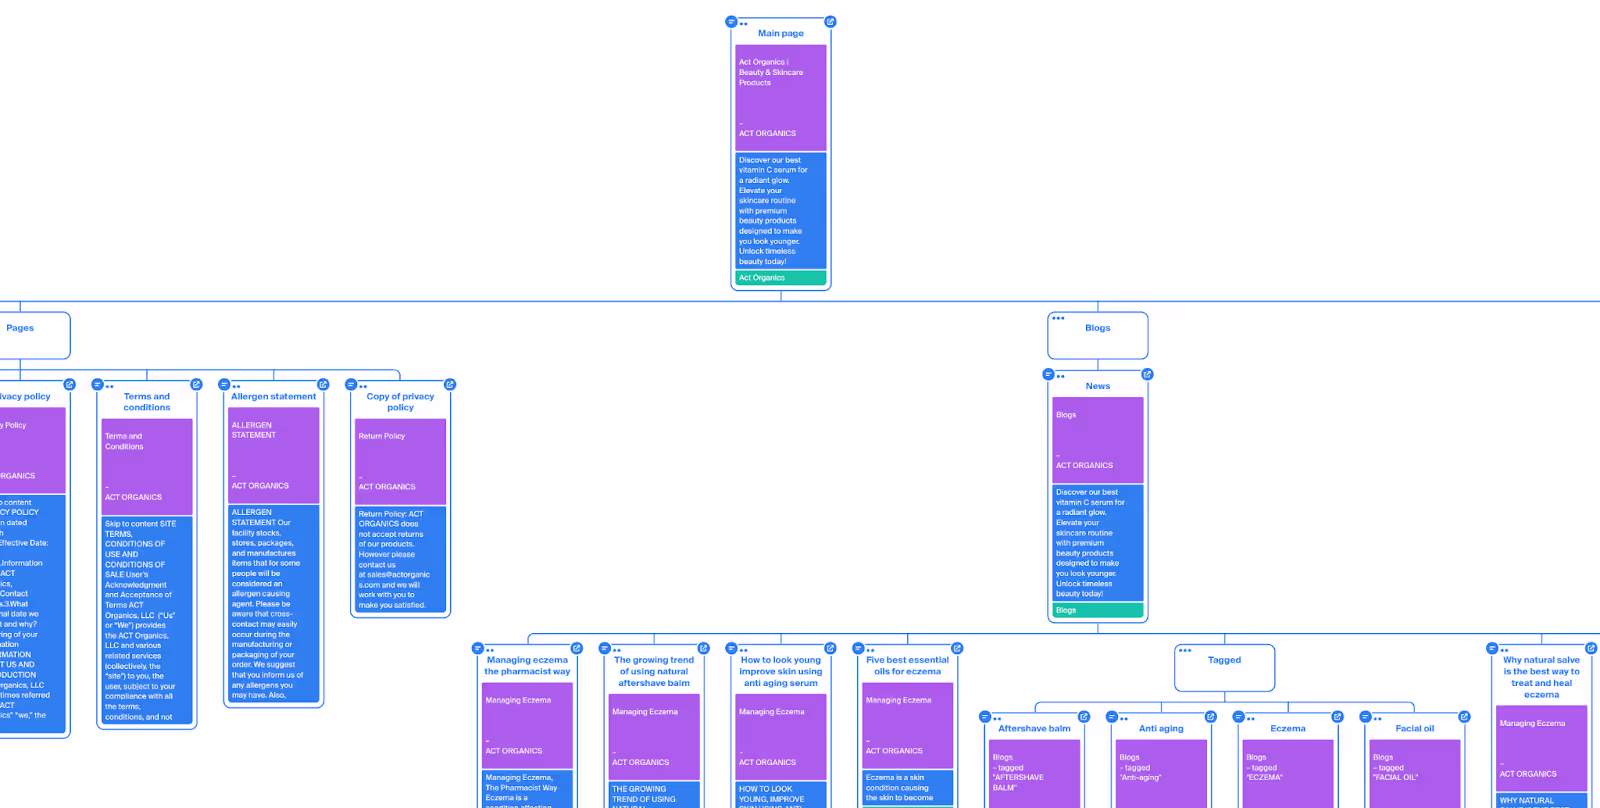
Creating a Page Inventory
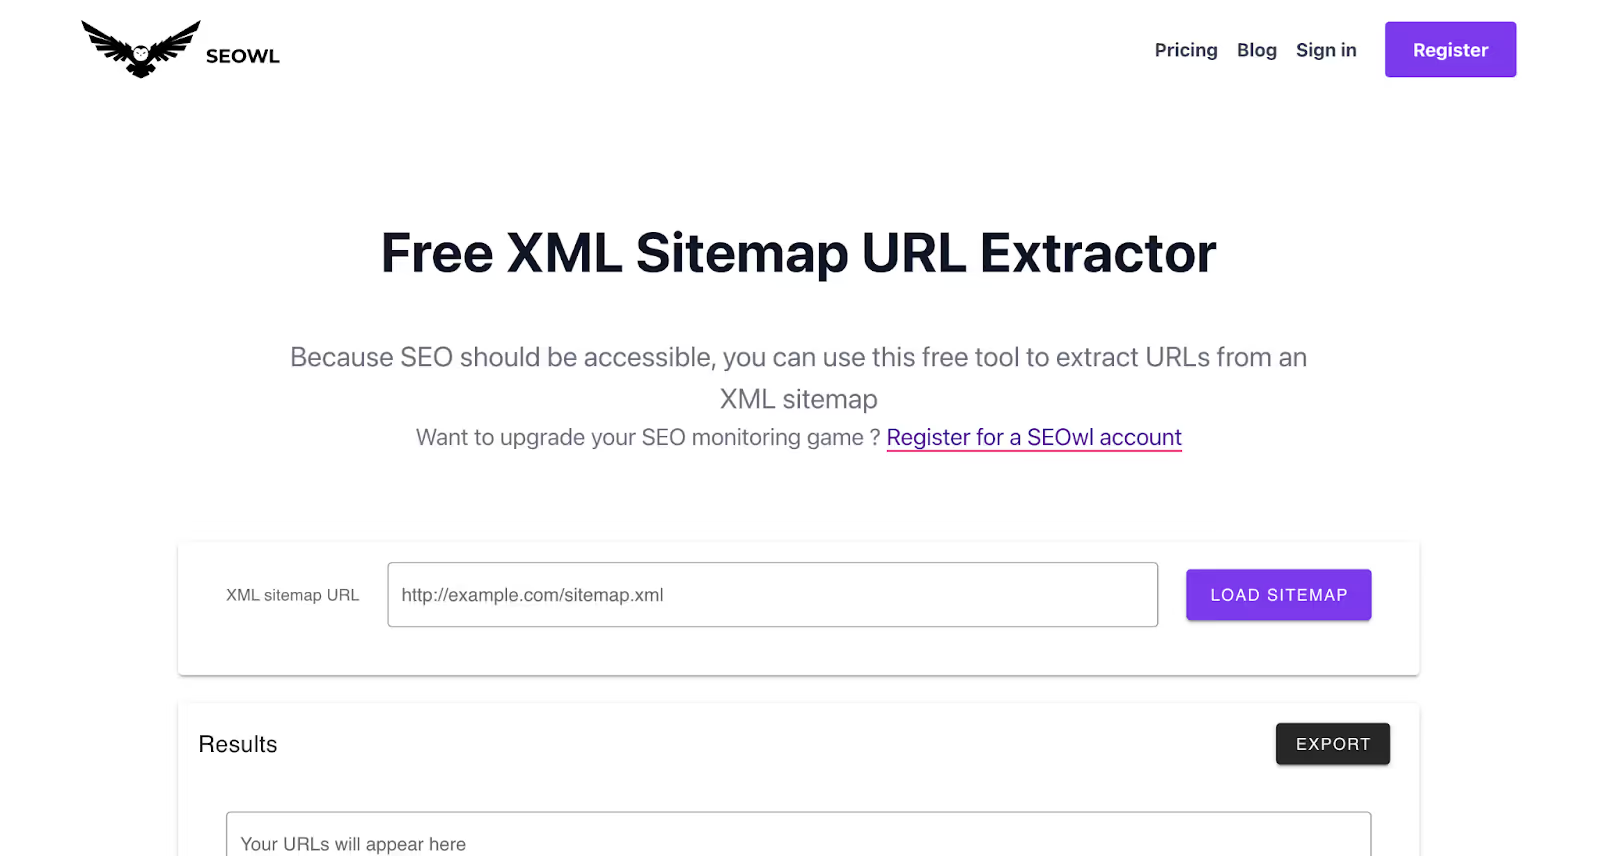
To ensure we don't miss any valuable traffic during the migration, it's necessary to collect a list of all your website's links. This step carries immense importance, as even a minor URL error can result in the loss of previously connected traffic to that specific page. Rest assured, attention to detail here is key to a successful transition.
Use Seowl to fetch URLs from your sitemap. This action will provide you with a comprehensive list of all your website's URLs.
Gathering the content
If you're using a CMS like WordPress, use a plugin (e.g., WP CSV) to export your content as a CSV file. This works well for articles, blog posts, and pages.
If you use other CMS aside Wordpress that don't have the plugin to export the content via CSV, Use Octopus to collect all the content from every page, encompassing both images and a copy of each page. Octopus provides a user-friendly method for visualizing your website's structure. Remember to export the results.
After successfully getting all the content from Octopus, we need to prepare for the Webflow transfer, we recommend you to organize all the downloaded content on Google Drive.
Create:
A list of all the pages, then choose the ones you are going to keep, delete or change;
A folder of the copy for each page that you want to have on your next website;
A folder for all the assets (Images, Icons, Videos) with subfolders for each webpage.
A folder where you will import all your blogs separately, using a CSV file. You will need to restructure some (if not all) of the blog posts, but importing this way will save you a lot of time. You will also need to set up new custom fields in the CMS.
Migration to Webflow Checklist
After creating your Webflow project and migrating everything as explained above, using our Webflow migration guide, it's essential to double-check everything. We must ensure that each step has been meticulously addressed and executed accurately for a successful migration.
Title Tags & Meta Descriptions:
Are all pages equipped with SEO-optimized Title Tags?
Are Meta Descriptions optimized for SEO?
Social Sharing:
Is an Open Graph image set up for each page?
URL Optimization:
Have all URLs been optimized for SEO?
Heading Tags & Internal Links:
Does each page have precisely one H1 tag, optimized for SEO?
Is there at least one internal link leading to each page from another page?
External Links:
Do main pages contain at least one external link to an authoritative website?
Image Optimization:
Have all images been compressed for performance?
Are image file names optimized for SEO?
Is every image equipped with optimized alt text?
Redirects:
Have 301 redirects been implemented for any necessary page changes?
User Experience:
Is a custom 404 error page in place to enhance user experience?
Navigation Links:
Have navigation links been added to both the header and footer?
Blog Posts:
Have Title Tags and Meta Descriptions been added to all blog posts?
Technical Files:
Is the Robots.txt file present and correctly configured?
Does the website have an XML sitemap?
Content Review:
Has the content been checked for relevance and accuracy?
Performance Metrics:
Has website performance been reviewed, including page load times?
Mobile Responsiveness:
Is the website mobile-responsive and tested across various devices?
Security Measures:
Have necessary security protocols been implemented, such as SSL certificates?
Backup & Recovery:
Is there a backup plan in case of unforeseen issues during migration?
Testing & Quality Assurance:
Have comprehensive tests been conducted to ensure proper functionality?
User Feedback:
Is there a mechanism to gather user feedback post-migration for improvements?
If you've answered 'yes' to each of these questions, congratulations! You've successfully migrated your website's most important elements. Just a few more steps, and you'll be ready to celebrate with a glass of champagne.
Integrate your Domain
In your project settings in Webflow, go to "Hosting."
Click "Add Custom Domain" and enter your domain (like www.yourdomain.com). If you haven't purchased your domain yet, I suggest using Google Domains.
Webflow gives you DNS settings; use them to update your domain settings where you bought it.
After connecting, make sure to designate the "www." version as the default. This step is mandatory as it guarantees your website's security, thanks to the SSL certificate provided by Webflow hosting. Failing to do so may trigger an "unsecured connection" warning for your visitors, potentially causing them to leave your site.
Check everything is set up correctly by clicking "Verify" and then "Publish" to go live on your domain.
Test your new domain thoroughly to ensure everything works as it should.
Google Integrations
In this step we’ll delve into the world of Google integrations to streamline your website migration process. This integration provides invaluable insights into your website's performance, user behavior, and more.
Let's optimize your website's capabilities with Google's most powerful tools.
Google Analytics Integration
Integrating Google Analytics into your newly migrated website is a straightforward process.
First, sign in to your Google Analytics account or create one if you don't have it yet. Next, select "Admin" and navigate to the property where you want to add the tracking code.
Click on "Tracking Info" and then "Tracking Code." Copy the tracking code provided.
Now, go to your Webflow project settings, find the "Custom Code" section, and paste the tracking code into the "Footer Code" field.
Save your changes, and Google Analytics will start collecting data from your website. Remember to test it to ensure it's working correctly, and you'll gain valuable insights into your website's performance.
Additionally, Webflow University offers comprehensive guidance on this process.
Configure Google Search Console and upload the Sitemap
Webflow simplifies sitemap management by automatically generating and keeping it up to date. To enable this feature, navigate to your Webflow site settings, then the SEO section, and toggle on 'Auto-generate sitemap.'
The final step is to submit this sitemap to Google Search Console. Follow these steps:
Enable the 'Auto-generate sitemap' option in Webflow.
Set up your domain in Google Search Console.
Access the 'Sitemaps' section from the left-hand menu and add 'your domain + /sitemap.xml'.
Revisions and Optimization
Now that we've successfully migrated our website to Webflow, it's time for the post-launch celebration! But, our journey doesn't end here. We're stepping into the post-launch phase, where we continue to monitor, refine, and grow.
It's like tending to a beautiful garden we've just planted. We'll keep a close eye on how it blooms, nurture it with care, and make adjustments as needed. Together, we'll ensure that our website thrives, providing an exceptional experience for our visitors.
Check for Google Analytics’s data
Organic Sessions
Bounce rate
Conversion Rate
Checking Google Analytics data post-migration is like checking the health of our website. We look at Organic Sessions to see if we're getting good, free traffic. Bounce Rate tells us if people are staying or leaving quickly, and Conversion Rate shows how well we're turning visitors into customers.
The core essence is about making sure our website is working as it should!
Regularly inspect Google Search Console
Index report
Monitor sitemap indexation levels
Mobile usability
Review enhancements
Now, we want to ensure that our website is error-free from Google's perspective. Typically, if something isn't right, Google will notify us via email to address the issue promptly.
Run a full website audit
Conducting a website audit post-migration is essential. It helps identify and rectify any issues that might have arisen during the transition. Utilize tools like Screaming Frog, Moz, or Google's PageSpeed Insights to ensure your website runs smoothly, loads fast, and provides an excellent user experience. It's an important step in maintaining a strong online presence.
Monitoring Progress
If you've diligently followed the migration guide, you've likely set the stage for a smooth transition. This check-in is like ensuring everything is sailing smoothly on your digital ship. By doing so, you can rest assured that your website is running seamlessly, your visitors are satisfied, and your online business is thriving. The main idea is centered around maintaining that peace of mind and making sure your hard work continues to pay off.
Keywords Tracking
Priority Pages Performance: Assess how your priority pages are performing compared to the pre-migration period.
Desktop Keywords: Monitor your target keywords or the keywords you prioritized before the migration, specifically for desktop searches.
Mobile Keywords: Keep an eye on the same target keywords or priority keywords but for mobile searches.
Ahrefs and SEMrush Visibility Checks: Given the potential shifts in keyword rankings during migration, keep a close watch on the visibility of your website as a whole using tools like Ahrefs and SEMrush. This will help you ensure that your website maintains its online presence effectively.
Analytics and Data
Google Analytics (GA): Organic Sessions: Monitor organic traffic to ensure it remains steady or improves post-migration.
GA: Revenue: Keep an eye on revenue figures to ensure they are on track or improving.
GA: Conversion Rate: Track conversion rates to gauge the effectiveness of your website in converting visitors.
Site Speed (Mobile and Desktop): Run site speed tests for both mobile and desktop to check for any performance issues that may have arisen post-launch.
These metrics will provide a comprehensive overview of your website's post-migration performance, helping you identify and address any issues that may arise.
A big round of applause for your successful migration!
Conclusion
Still, website migration to any CMS platform is a complex undertaking process, particularly for those new to the field. There are numerous vital steps that must be meticulously followed to ensure a successful transition. If you're venturing into this for the first time, seeking expert guidance is essential, as an incorrect migration can result in substantial traffic & revenue loss.
Our team has developed a user-friendly website migration checklist, designed to make the process comprehensible for all. The choice is yours: you can opt to manage it independently, taking on associated risks, or consider partnering with a professional agency to handle the migration for you.
If you choose expert assistance to facilitate a smooth & fast website migration to Webflow, we invite you to schedule a consultation with us.
Short description on the benefits or value you’ll get from using this checklist
Organizes SEO tasks for efficiency
Simplifies keyword tracking and management
Ensures consistent on-page optimization efforts
Thank you! Your submission has been received!
Oops! Something went wrong while submitting the form.
Frequently Asked questions
What is the purpose of this B2B Website Migration Checklist?
How long does it take for traffic to recover after a website migration?
What are the key metrics to analyze before migrating a website?
How should I prepare content from my old website for migration?
What steps are the most important in the migration to Webflow?
About the Author
Luke Lewis
Co-founder at Amply, has 15+ years of experience supporting and leading B2B brands like Adobe, Domo, Kizik, and many others to punch above their weight with killer B2B website design, Webflow development, and branding.
A complete Webflow maintenance checklist for monthly, quarterly, and annual tasks, including performance, SEO, CMS, integrations, and more. Keep your site sharp.
Handing your Webflow site to an agency doesn’t mean giving up control. Here’s exactly how to do it right: access, assets, integrations, and boundaries.
Rajat Kapoor
10
min
Our Portfolio
Explore Our Resource Collections
Amply Academy
Learn Web design, webflow, and web design best practices, all tailored to help you grow your B2B business

.avif)


.avif)