


About Salesforce
Salesforce is one of the most widely used CRM platforms in the world. It helps businesses manage leads, track sales opportunities, and build lasting relationships with customers — all in one place.
From marketing automation to deal tracking and reporting, Salesforce is built to support the full customer journey. Whether you're a small business or a large enterprise, it gives your team the tools to stay organized and responsive at every stage of the funnel.
If you're collecting leads on your Webflow site, Salesforce is where they should go next.
How to Integrate Salesforce with Webflow
There are a few different ways to send leads from Webflow into Salesforce — from simple embeds to no-code automations to more advanced setups. Here’s a breakdown of the most effective methods:
1. Embed a Salesforce Web-to-Lead Form
Salesforce allows you to create HTML forms (via its Web-to-Lead feature) that can be embedded directly into your Webflow site. These forms create new Lead records when submitted.
How it works:
- Generate a Web-to-Lead form from Salesforce
- Copy the provided HTML code
- Paste it into a Webflow Embed element
- Style it using custom CSS if needed
- When someone submits the form, the data is sent directly into Salesforce as a Lead
Best for:
Simple lead capture setups that don’t require styling or dynamic logic
Things to know:
- Only works with the Lead object
- Styling options are limited unless you add custom CSS
- There’s no built-in success/failure handling in Webflow
2. Use Zapier to Send Webflow Form Submissions to Salesforce
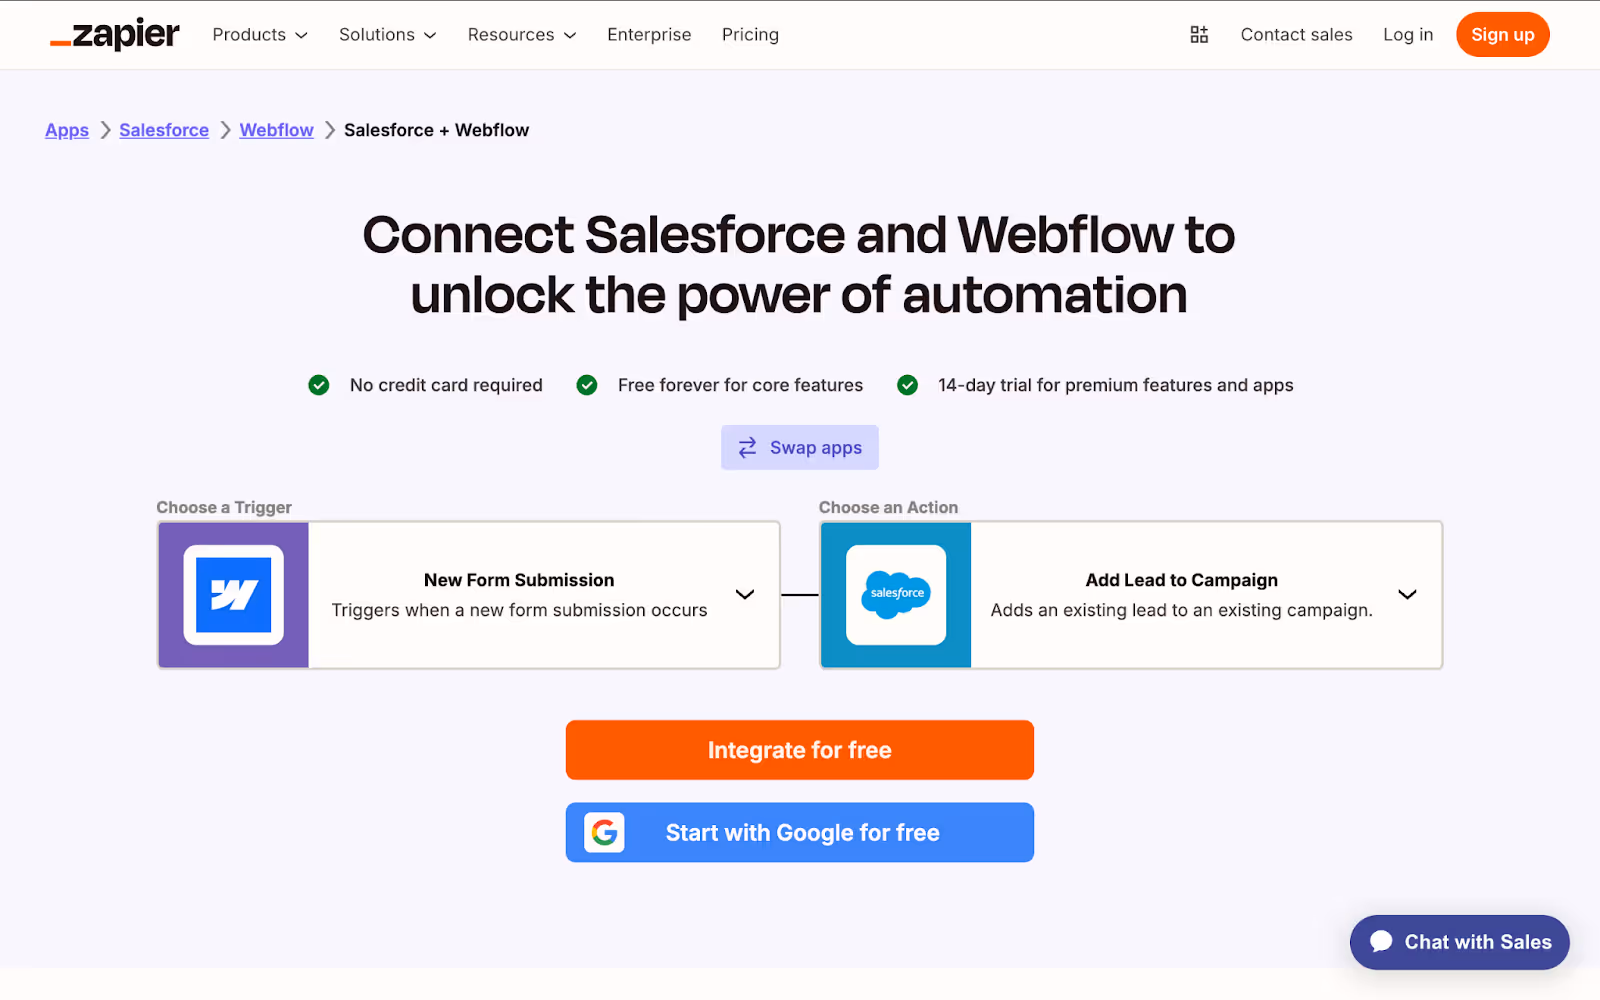
Zapier is a no-code automation tool that lets you connect Webflow with Salesforce and push form data into your CRM in real-time.
How it works:
- Trigger a Zap when someone submits a form in Webflow
- Set up an action to create a Lead, Contact, or other Salesforce object
- Map fields between Webflow and Salesforce
- Add filters, tags, or logic based on form responses
Best for:
Teams who want flexibility and no-code automation — and need to go beyond simple embeds
Things to know:
- Requires a Zapier account (paid plan for high volume)
- Sync is fast, but not real-time to the second
- Great for lead routing, segmentation, or tagging
3. Use Pardot Form Handlers (for Salesforce Pardot Users)
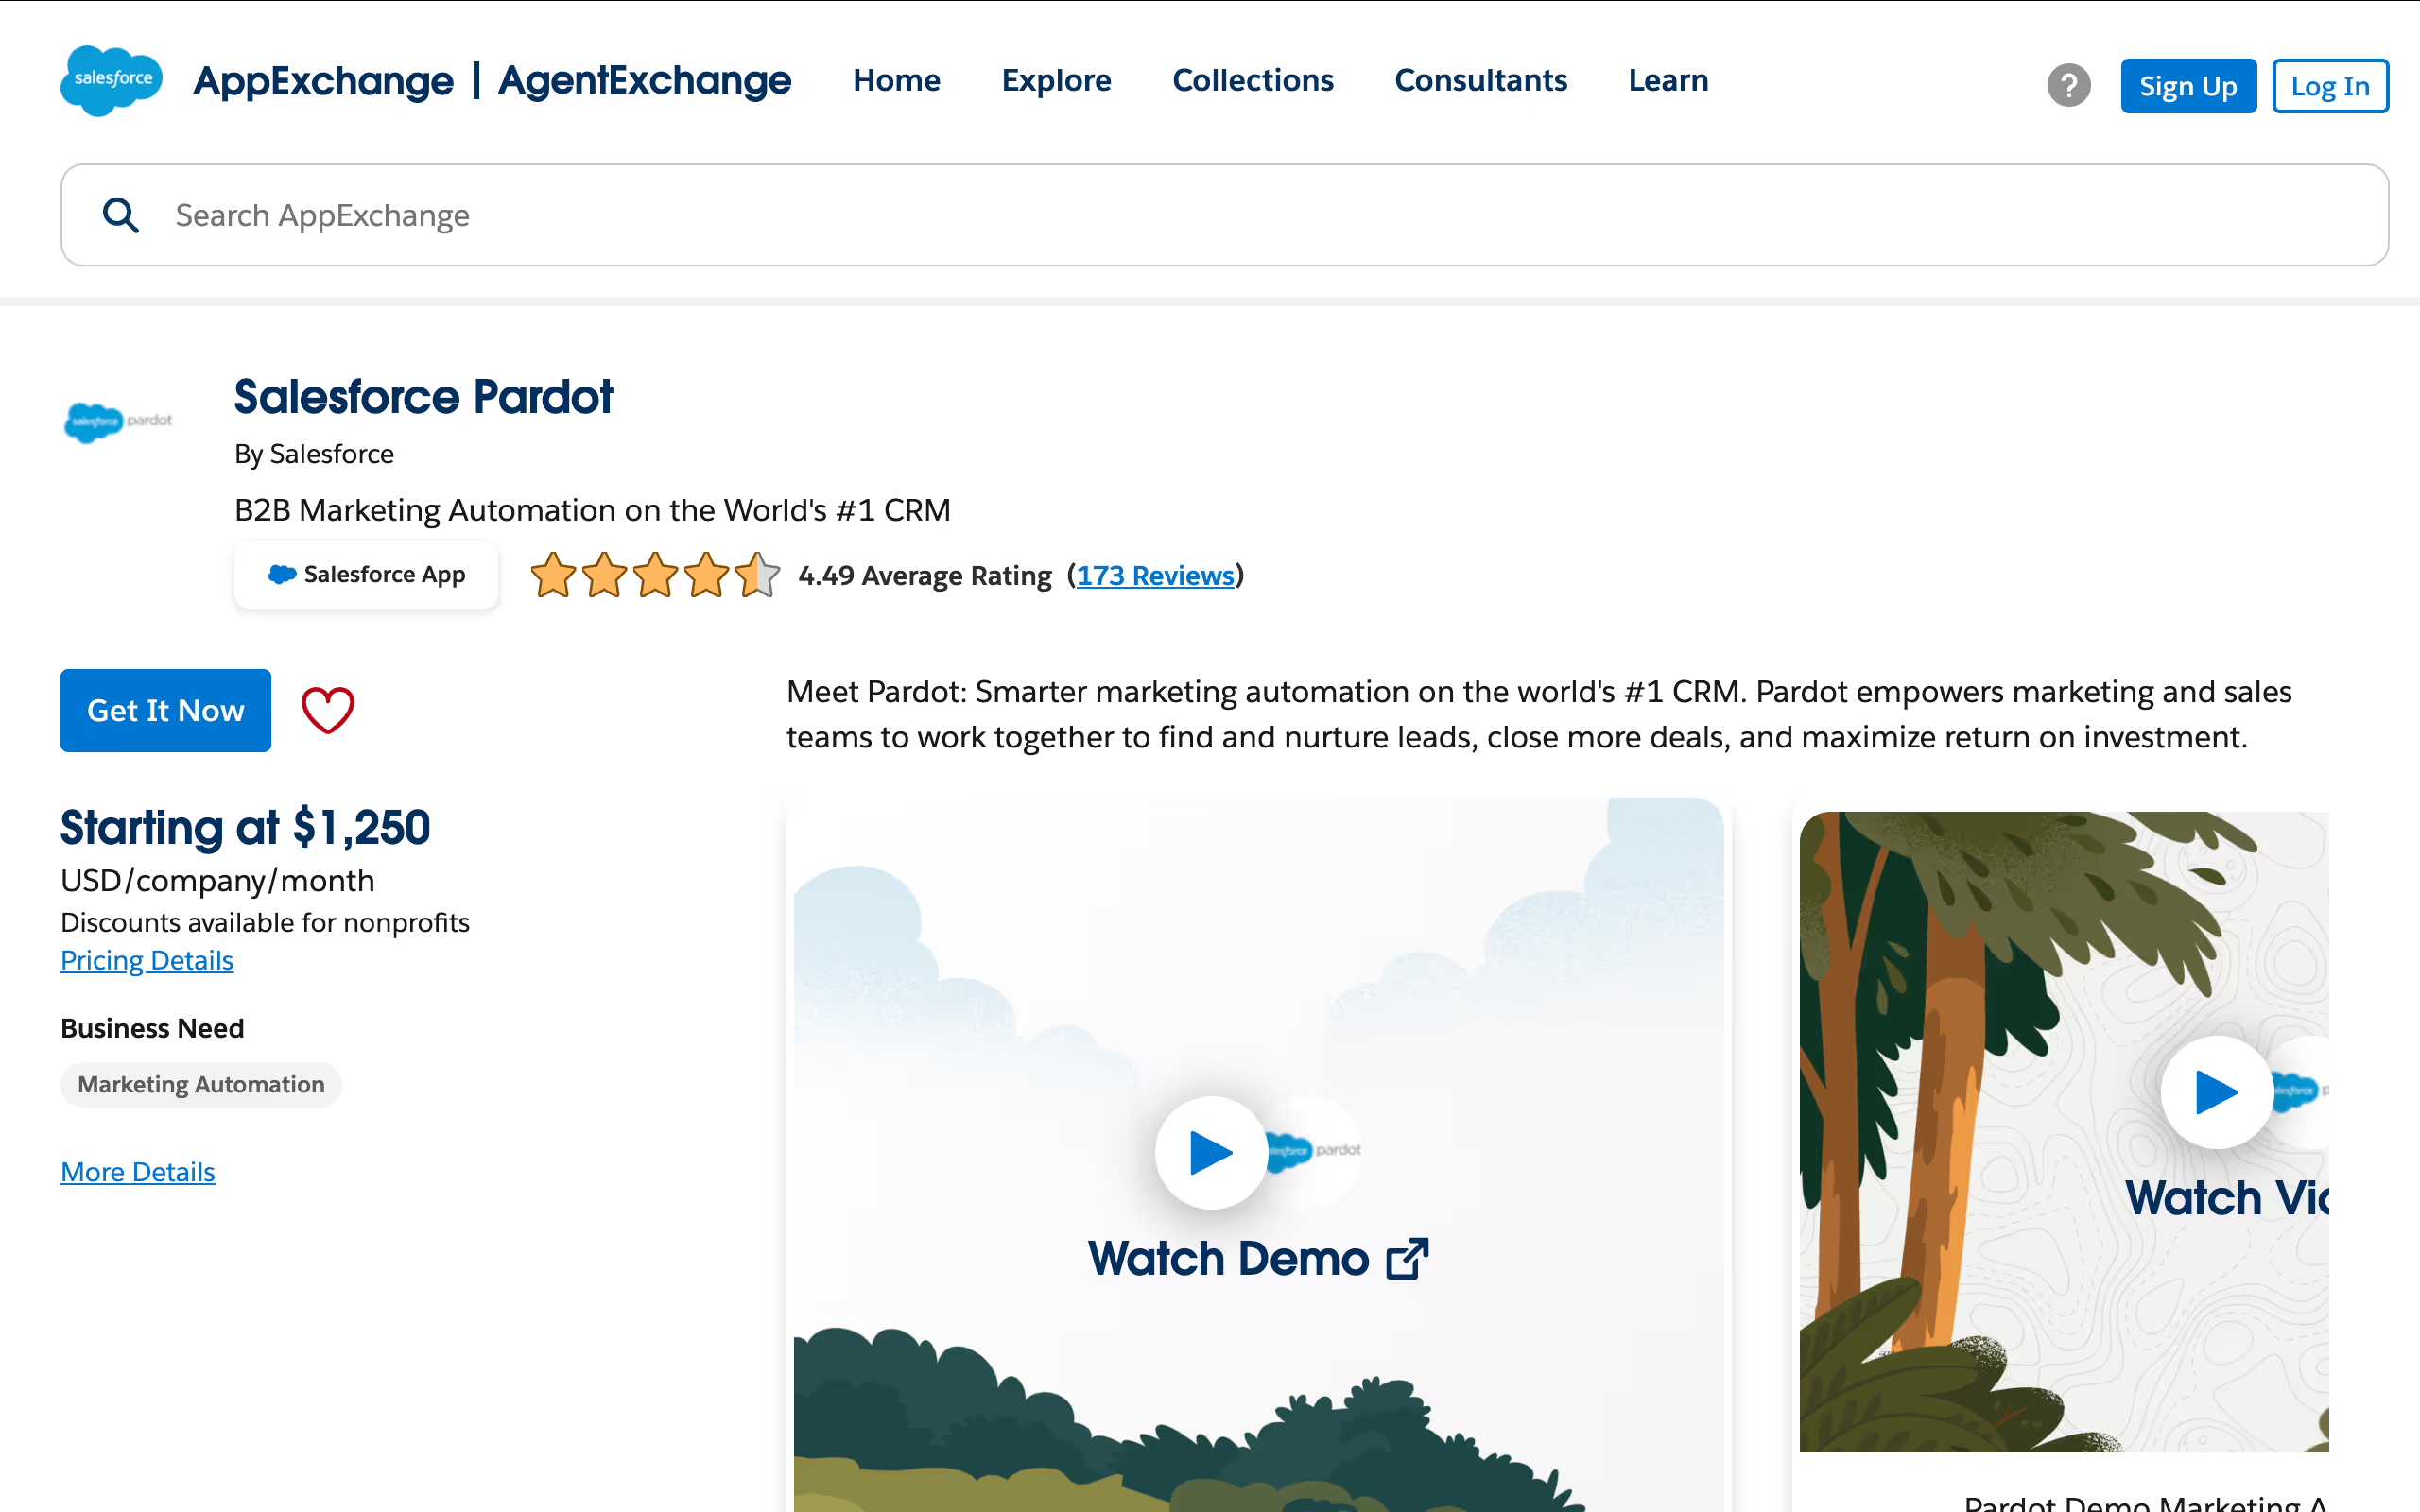
If you’re using Salesforce Pardot, you can capture Webflow form submissions via a Pardot form handler, without needing to use Pardot’s native form designs.
How it works:
- Create a form handler in Pardot and configure the fields you want to track
- Set your Webflow form’s action URL to the form handler endpoint
- Make sure field names match
- Submissions go to Pardot, and Pardot syncs with Salesforce
Best for:
Marketing teams using Pardot who want to keep full design control in Webflow
Things to know:
- Requires an active Pardot account
- Offers great marketing automation features like scoring, segmentation, and tracking
- Slightly technical to set up, but very scalable once running
4. Build a Custom API Integration
For maximum control, you can build a custom integration that pushes Webflow form data to Salesforce using their REST API.
How it works:
- A backend function (via AWS Lambda, Make.com webhook, etc.) receives Webflow form data
- It processes the data and sends it to Salesforce’s API
- Can be used to create or update any object: Leads, Contacts, Opportunities, etc.
Best for:
Enterprises or high-volume teams with in-house dev support and complex workflows
Things to know:
- Requires secure backend setup and ongoing maintenance
- Can handle validations, conditional logic, duplicate checks, and more
- Fully customizable but slower to implement
Common Challenges When Connecting Salesforce to Webflow
Even though the integration isn’t technically complex, getting everything to work reliably — especially at scale — can run into a few common issues. Here’s what to watch out for:
1. Field Mapping Issues
If the field names in your Webflow form don’t exactly match what Salesforce (or Pardot) expects, submissions can fail silently or get rejected. It’s especially tricky when using Web-to-Lead or form handlers.
2. Styling Limitations with Embedded Forms
Salesforce’s Web-to-Lead forms don’t match your Webflow design out of the box. Making them look consistent often requires manual CSS, which can be limiting for non-devs.
3. No Error Feedback or Validation
By default, Salesforce doesn’t return real-time error or success messages to your Webflow form — which can confuse users or lead to missed submissions unless you add custom handling.
4. Delayed or Missed Syncs in Zapier
Zapier is great, but it’s not 100% real-time. Occasionally, tasks fail or are delayed — especially if you hit volume limits or haven’t added fallback steps.
5. Limited Object Support in Simple Setups
Most no-code solutions (like Web-to-Lead or Zapier) default to handling Leads. If you want to create Contacts, Opportunities, or update custom objects, it requires extra setup or dev support.
Which Method Should You Choose?
Not sure where to start? Here’s a quick guide based on what you’re trying to do:
Each method has its place — the right one depends on how much flexibility, control, and automation you need.
How Amply Can Help With Webflow & Salesforce Integration
Whether you're capturing leads, syncing contacts, or building a more advanced setup, we help make sure your Webflow–Salesforce integration is smooth, reliable, and built to scale.
From simple forms to custom flows, we handle the technical side so your team doesn’t have to worry about lost leads, broken syncs, or confusing form errors.
Here’s what we help with:
- Choosing the right integration method for your site and workflow
- Setting up Web-to-Lead forms with clean design and proper field mapping
- Building no-code automations using Zapier (and maintaining them)
- Integrating Webflow with Pardot using form handlers
- Creating custom API workflows for complex logic or multiple Salesforce objects
- Testing everything thoroughly so nothing slips through the cracks
Not sure what’s best for your setup? We’re happy to take a look. Book a Free Call


.svg)


.svg)


.avif)


.avif)


.svg)


.avif)
%20and%20What%20Makes%20Them%20Work.avif)

.avif)


